
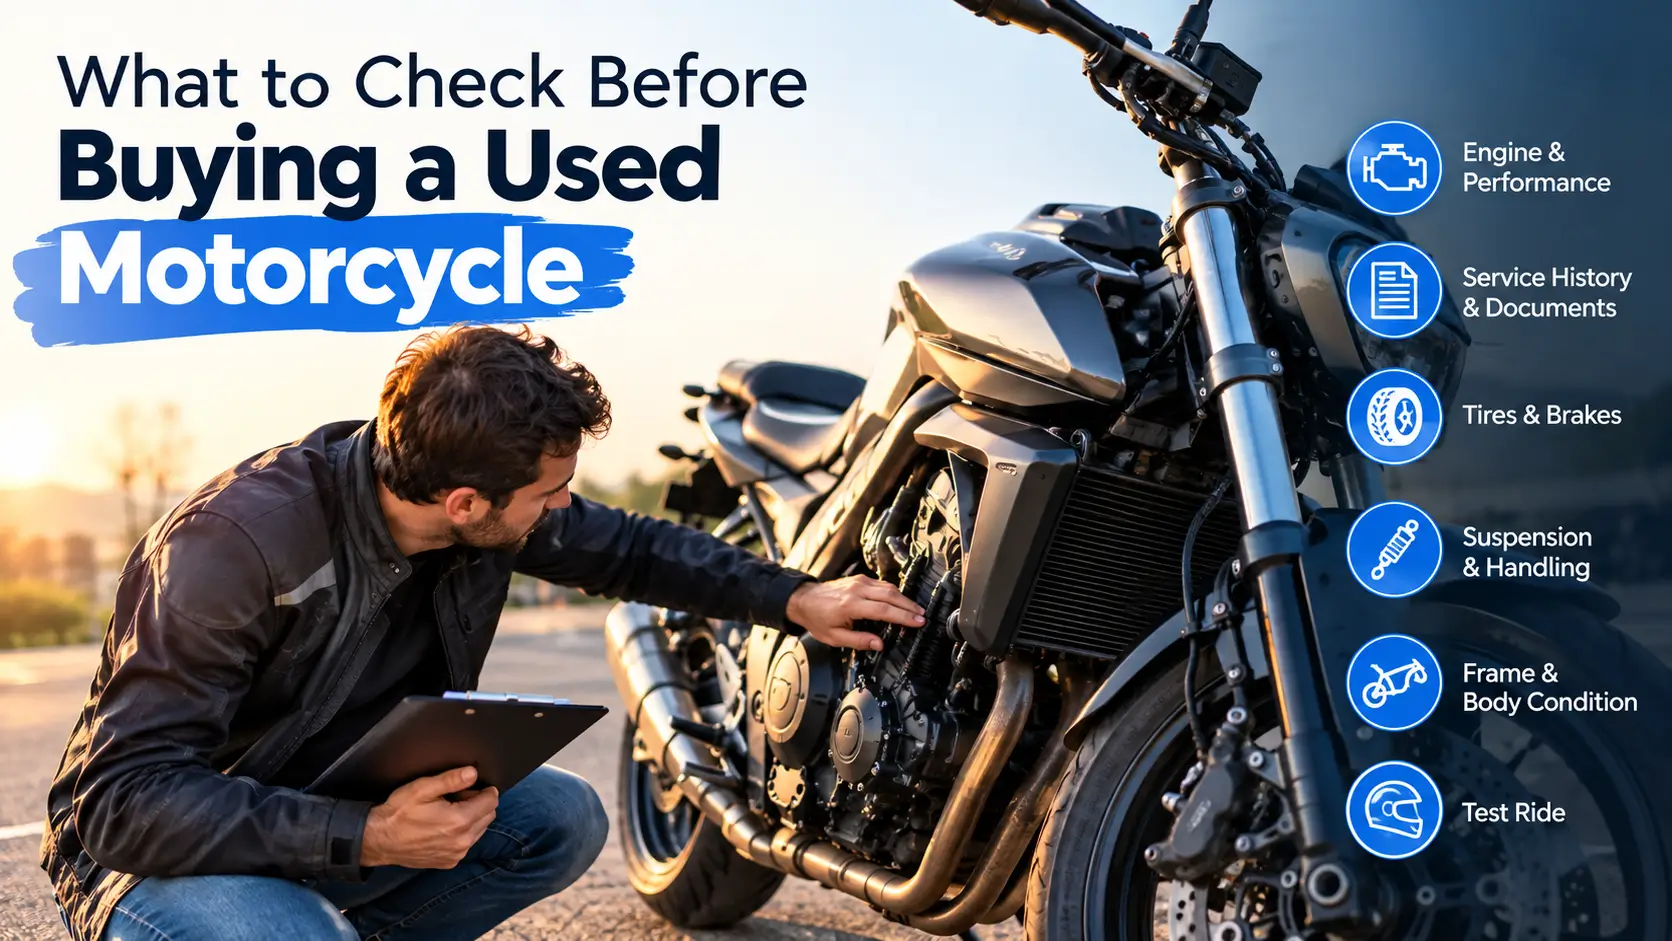
Buying a used motorcycle is usually a fast process, and that’s actually the point in your favor: the bike is sitting right in front of you. You can see it, hear it, and touch it, which is more than you get buying almost anything else used. But “fast” only works in your favor if you actually go through it – section by section, not just kicking the tire and listening to the engine for ten seconds.
This isn’t about turning you into a mechanic. It’s about knowing exactly what you’re buying – on paper and mechanically – before any money changes hands. Bring your phone, go through this in order, and if something doesn’t check out: if in doubt, there’s no doubt. Walk away. Another bike will come along.
One more thing before the list: don’t expect any used bike to check every single box here perfectly, and don’t treat this as a list of hard requirements. There’s no such thing as a bad motorcycle, only a bad price – a rough bike at the right number can be a great first bike if you know exactly what you’re getting into. This checklist is how you find that out, not a bar every bike has to clear.
The Quick Checklist
Here’s the whole thing at a glance – go through it in order, phone in hand. Everything below it explains exactly how to check each line.
Before you go
- Checked for open recalls on this exact model/year (NHTSA.gov)
- Asked the seller why they’re selling, how long they’ve owned it, and whether it’s ever been dropped
- Confirmed it currently runs
- Brought a flashlight, something to take notes on, and ideally a friend
Paperwork
- Title says “Clean Title” – not Salvage or Rebuilt
- Seller’s name matches exactly what’s on the Title
- No lien listed, or you have a lien release letter in hand
- VIN on the bike matches the Title and registration, digit for digit
- No unpaid back fees attached to the bike (checked your state’s DMV)
- Ran an independent VIN history report and checked NICB VINCheck
- Seller has maintenance/service records, or a reasonable explanation if not
- Asked about a second key and original documentation
Static and mechanical
- Engine was cold when you arrived, not pre-started
- No oil, coolant, or brake fluid leaks around the engine, forks, or lines
- Oil isn’t milky or foamy, and doesn’t smell like fuel
- No rust inside the gas tank
- Battery has no corrosion on the terminals
- All locks work – ignition, gas cap, seat
- Nothing obvious missing – mirrors, bar ends, signals, fasteners
- Wiring under the seat/tank looks factory, not spliced or taped
- Tires aren’t older than 5 years (DOT date code) and have no flat spot from sitting
- Forks move smoothly with no play in the steering when you push the bars
- Panels and paint match – no signs the bike went down
- Chain has normal slack, no tight spots
Start-up and test ride
- Let it idle 5-10 minutes with no warning light or overheating
- Every light works – headlight, both signals, brake light
- No blue or thick white smoke from the exhaust
- Brakes feel firm, not spongy, and the clutch/gears engage cleanly
- Bike doesn’t pull to one side at low speed, hands light on the bars
- Rode more than just the driveway, through all the gears
The Paperwork Check (the Part That Matters Most in the US)
This is the part beginners skip, and it’s the one that actually bites people. In the US, the paperwork can matter more than how the engine sounds – a mechanically perfect bike with bad paperwork is a bike you legally can’t register, or worse.
Before You Even Go See It
Before you even contact the seller, spend two minutes looking up open recalls for that exact model and year – NHTSA.gov has a free lookup by VIN. Then, when you’re talking to the seller, ask a few plain questions before you show up: why they’re selling, how long they’ve owned it, whether it’s ever been dropped or crashed, whether it has any modifications, and – simple as it sounds – whether it currently runs. A seller who gets vague on any of these is telling you something.
What to Bring
A flashlight, something to take notes on (your phone is fine), and if you can, a friend – not to negotiate for you, just another set of eyes, and it’s safer than meeting a stranger alone.
Title Status: Make Sure It’s Clean
Ask to see the Title itself, not a photo of it. Near the top of the document, look for the word printed or stamped on it: it should say Clean Title. If it says Salvage or Rebuilt instead, the bike was written off or in a serious accident at some point – that doesn’t automatically make it unsafe, but it changes the value and the risk, and you should know it going in, not find out later.
Confirm the Seller Actually Owns It
The name on the Title has to match the seller’s ID, exactly. If someone tells you they’re selling it “for a friend” or “for my uncle,” don’t buy it – that’s called title flipping, it’s illegal in most states, and it leaves you holding a title that doesn’t trace back to the person you paid. The person signing the title over to you needs to be the person named on it.
Check for a Lien
Look at the Lienholder field on the Title. If a bank or finance company is listed there, the bike technically still belongs to them until the loan is paid off. The seller needs to hand you a lien release letter proving that loan is closed. No release letter, no deal – a bike with an open lien isn’t the seller’s to sell yet.
Match the VIN – Every Single Digit
The VIN (Vehicle Identification Number, 17 characters) is physically stamped on the bike, usually on the steering head or frame near the front. It has to match the Title and the registration digit for digit. This one check is what actually proves the bike sitting in front of you is the bike described on the paperwork – don’t skip it because the rest looks fine.
Ask About Back Fees
In some states – California is a big one – unpaid registration fees stay attached to the bike itself, not the previous owner. That means they become your problem the moment you buy it. A two-minute look at your state’s DMV site before you commit can save you an ugly surprise after.
Get an Independent History Report Too
A clean Title tells you the state hasn’t flagged the bike – it doesn’t always catch everything, especially if the bike changed hands across state lines. Run the VIN through NICB’s free VINCheck to confirm it isn’t reported stolen, and consider a paid report from a service like CycleVin for accident and flood history the title alone might miss. It’s a few dollars and a few minutes against a purchase that’s going to cost you thousands.
Ask for Maintenance Records
Ask the seller if they kept any service records or receipts – oil changes, tire replacements, chain adjustments. You don’t need a full paper trail to buy the bike, but a seller who can show you even a rough history is telling you something good, and one who gets defensive about the question is telling you something too.
Ask About the Extras
Ask if there’s a second key – on some newer bikes a spare can cost $200 or more to cut and program, so it’s worth knowing before you’re stuck with only one. Also ask for the original sales paperwork and the owner’s manual if the seller still has them; neither is a dealbreaker to be missing, but both are good signs when they’re there.
See Also: New vs. Used: Which Is Smarter for Your First Motorcycle?
The Mechanical Check (Before You Even Start It)
You don’t need to be a mechanic for this part either – you just need to actually do it, with your hands and your eyes, before the engine’s running and covering things up.
Touch the Engine Before Anyone Starts It
Put your hand on the engine block before the seller reaches for the ignition. If it’s already warm, they started it before you got there – usually to hide a rough cold start or a noise that only shows up the first time an engine fires up that day. A cold engine that starts clean, on its own, in front of you, tells you a lot more.
Look for Leaks
Check underneath the bike and around the engine seals and the fork seals (where the front forks meet the lower tubes) for oil or coolant. And pay attention to color: oil that looks milky or foamy means water has gotten into the engine – that’s a real mechanical problem, not a cosmetic one.
Check the Tank, Fluids, and Wiring
Open the gas cap and look inside with your flashlight – rust inside the tank is a real problem, not a cosmetic one. While you’re checking fluids, add brake fluid to the list alongside oil and coolant: it should be clear to light amber, not dark or murky. And take a look under the seat and around the tank for the wiring – it should look factory. A nest of spliced wires, electrical tape, or mismatched colors back there is a sign of amateur electrical work, even if everything happens to run fine today.
Battery, Locks, and What’s Missing
Check the battery for corrosion around the terminals – a white or greenish crust is a bad sign. Test every lock: ignition, gas cap, seat. And do one slow walk around the bike looking for anything that should be there and isn’t – mirrors, bar ends, turn signals, even fasteners. Small missing parts are cheap on their own, but they add up, and they’re also a bargaining chip.
Check the Tires
Every tire has a DOT date code stamped on the sidewall – four digits, where the first two are the week and the last two are the year (“2324” means the 23rd week of 2024). A tire over 5 years old should be replaced regardless of how much tread is left on it – rubber degrades with age, not just with miles.
Before you even start it, roll the bike a few feet forward and back and look at the tire where it’s been sitting – a flat spot or a visible ring in the rubber means the bike sat parked for a long time, which can mean more than just a tire.
Test the Forks and Steering
Squeeze the front brake and pump the forks up and down a few times – they should move smoothly and return without clunking or feeling gritty. Then, still holding the front brake, gently push and pull the handlebars back and forth. Any looseness or play there can point to worn steering-head bearings – not a deal-breaker by itself, but worth knowing and worth negotiating on.
During Start-Up and the Test Ride
Know the Cash-in-Hand Reality
Most private sellers in the US won’t let you test ride the bike unless you hand them the full asking price in cash as a deposit first. This is normal, not a scam by itself – just go in knowing it, so it doesn’t catch you off guard or pressure you into skipping the checks above to “move things along.”
Let It Idle Before You Ride
Once it’s started, let it idle for five to ten minutes before you go anywhere – this is the easiest test on this whole list, since all you’re doing is waiting. Watch for a temperature warning light coming on, or the engine sounding different as it warms up. A bike with a cooling problem usually shows it here, not at a glance.
Check Every Light
Headlight, both signals, brake light front and back – all of them, one at a time, not just a glance.
Watch the Exhaust
Blue smoke means the engine is burning oil. Thick white smoke usually points to something more serious inside the engine. Either one is a real reason to pause, not something to wave off.
Test for a Straight Frame
At a low, safe speed in a straight line, lightly loosen your grip on the handlebars for a second and see if the bike pulls to one side on its own. A pull can mean a bent frame or forks from a past accident that isn’t visible just standing next to the bike.
Check the Brakes, Clutch, and Gears
Squeeze the front brake lever – it should feel firm and stop the bike progressively, not spongy or going straight to the handlebar. Pull in the clutch and work through the gears: they should click into place without extra force or a grinding feel. None of this needs a trained ear, just your own hands paying attention.
Look at the Chain and the Panels
Check the chain’s slack – it should move up and down a bit, evenly, with no tight spots as you roll the bike forward. Then take a slow walk around the bike: paint that doesn’t quite match between panels, or scratches clustered in one spot, can be a sign it went down at some point, even if nobody mentioned it.
Ride More Than the Driveway
If the seller will let you, ride further than just around the block – enough to get through all the gears and up to a normal road speed, not just idle around a parking lot. The longer the ride, the more a real problem has a chance to show itself instead of staying hidden for the two minutes a seller is comfortable giving you.
Closing the Deal
Once everything above checks out, closing it is simple:
- Both of you sign a Bill of Sale – this is your proof of the transaction and the price, separate from the Title.
- The seller signs the Title over to you, recording the exact mileage at the time of sale.
- The seller is typically required to report the sale to the DMV within a few days (5 days in a lot of states), and you’re typically required to register the bike in your name and pay sales tax within about 10 days of the purchase. These windows vary by state – check your own state DMV’s page before you buy, not after, so you’re not caught off guard by a deadline you didn’t know existed.
Red Flags: When to Just Walk Away
Most of what’s above is a checklist. This part is different – these are the specific signs that mean you stop, no matter how good the bike looks or how good a deal it seems like.
- Any detail that doesn’t match. VIN that doesn’t line up with the Title, a name that doesn’t match the seller’s ID, an odometer reading that’s noticeably off from what’s on the last registration document. One mismatch might be a paperwork error. It might also not be.
- The seller offers to fix things after the sale. “I’ll take care of that once you buy it” is backwards, and it’s a real red flag – a seller with nothing to hide fixes it before you pay, or drops the price to cover it.
- The registration hasn’t been renewed. A lapsed registration isn’t automatically a disaster, but paired with anything else on this list, it’s worth asking hard questions about why.
To be clear about what this actually means: most of the time, a mismatch like this is sloppiness, not a crime – someone who didn’t update paperwork after a lien payoff, or a typo on a form. But it can also point to an unauthorized change to the vehicle, or in rare, extreme cases, a stolen bike. You don’t need to know which one it is. If in doubt, there’s no doubt – walk away. Nothing about this bike is worth the risk, and another one will come along.
And even after all of this – I still recommend a used bike as your first motorcycle. This checklist isn’t a reason to be scared off; it’s the thing that makes buying used safe enough to be worth it. It saves real money, and once you’ve done it once, going through this list takes you twenty minutes, not a weekend.
Frequently Asked Questions
Check the Title document itself, near the top – it will say “Clean Title,” “Salvage,” or “Rebuilt” printed or stamped directly on it. If you only have a photo of the title, ask to see the physical document before you buy.
Don’t buy it. The name on the Title has to match the seller’s ID exactly – anything else, including selling “on behalf of” someone else, is a red flag worth walking away from.
Look at the Lienholder field on the Title. If a bank or finance company is listed, ask the seller for a lien release letter proving the loan is paid off before you hand over any money.
Yes – most private motorcycle sellers in the US won’t allow a test ride unless you put the full asking price in cash in their hand first as a deposit. It’s a common practice, not automatically a scam.
A VIN, name, or mileage that doesn’t match the paperwork; a seller who offers to make repairs after the sale instead of before; and a lapsed registration. Any one of these is a reason to slow down – more than one is a reason to walk away.
Leave a Reply